Well, this blog comes out of my love of cooking. Over the years I have collected and adapted recipes to my families liking. This recipe is one that I've been making since my husband and I started dating nearly 7 years ago. This started as his fathers adaptation of his mothers, which has worked its way to becoming my creation. Handing down recipes the way all Italians do. The way legends are made.
My Lasagna starts with a basic meat sauce.
1 Onion, medium to large (depending on how much you like onions)
4-6 Garlic Cloves, fat (depending on how much you like garlic)
2 28oz cans of crushed tomatoes (I'll be trying my hand with fresh toms this year. Check back for details)
1.25 lbs Ground Beef
1.25 lbs Italian Sausage (I prefer hot but medium works great for those that don't like heat)
Basil
Parsley
Oregano
Black Pepper
Salt
Olive Oil
1/4 cup red wine (optional)
First step is to chop your onion and garlic. Put about 2-3 tablespoons of olive oil in your stock pot and toss in the onion and garlic. I like to get this good and caramelized before adding the meat. I think that waiting for them to turn a pretty brown takes a lot of the bite out of the onions. While these are working their magic in the pot, go ahead and mix your meat together. Snip the casing off of the sausage and blend it well with the beef. By blending it, you will ensure good chunking, as I like to call it. I couldn't stand getting a bite of beef, then a bit of sausage. Now the flavors will marry perfectly. Go ahead and add it to the onions and garlic. Make sure to move things around so all sides get brown. You also have to do a little stirring and banging to make sure the pieces break up small enough to be bite size. While the meat is browning, take the opportunity to measure out your spices. I usually do things by the palm full and eyeball it but I've also made this more times than I can count. If you had to force me, I'd say it's probably about, 2 tablespoons each (basil, parsley and oregano), 1 teaspoon each (black pepper and salt). Set aside. Once meat is browned and cooked all the way through, add both cans of tomatoes. If you are going to add red wine, you would do it now. Rinse the 2 cans of toms with the 1/4 cup of red wine and add to the pot. Toss in your bowl of seasonings and stir. For now your meat sauce is ready and waiting on the other layers of the Lasagna. Let it cook while you're doing the other preparations. Letting it thicken a little will make sure your lasagna isn't runny. This could also be the part where you stop if you just want a meat sauce for spaghetti, ravioli, etc.
Cheesy Layers
1 Large container Ricotta Cheese (28 oz. I believe...the largest my grocer carries)
2 lbs Shredded Mozzarella Cheese
1/4-1/2 cup of Parmesan Cheese (Depending on your preference)
Basil
Parsley
Oregano
Black Pepper
Dump your ricotta into a mixing bowl. Add 1 Tablespoon each, basil, parley, oregano. Add 1 teaspoon black pepper. Add desired about of Parmesan cheese and mix thoroughly. Leave shredded Mozzarella aside until later.
Now comes the assembly. The no boil noodles are the easiest. If I'm making this for a crowd, I'll make it in my large glass casserole dish. When I'm making it for just me and hubby or for my parents, I use the smaller, disposable tins (Not my favorite choice but I haven't yet invested in small and medium ceramic dishes yet) and put the extras in the freezer.
Layers go...from bottom to top
Meat sauce
Shredded mozzarella
Noodles
Ricotta mixture
Meat sauce
Shredded mozzarella
Noodles
Ricotta
Meat Sauce
Shredded Mozzarella
Make as many layers as you can fit in the dish. Just make sure your top layer is Mozzarella. If it mounds slightly you should be fine. Press it together to make sure nothing will fall off and place a cookie sheet under the casserole dish to catch any drippings when baking.
Now you're ready to bake at 400 until the cheesy top is golden. If you will be refrigerating this prior to baking, reduce your temperature to 375 and bake until golden. These make perfect freezer meals as well. I have had good luck baking small portions directly out of the freezer @ 350. I would not recommend baking from frozen on anything larger than 3 portions. You might get a golden top with a chilly center. Just make sure you take it from freezer to refrigerator the night before if you are making a family size. Once taken out of the oven, let sit at least 15 minutes before cutting. No one likes a runny lasagna.
Next time I make this, I will take pictures of all the steps. Happy eating! Enjoy!


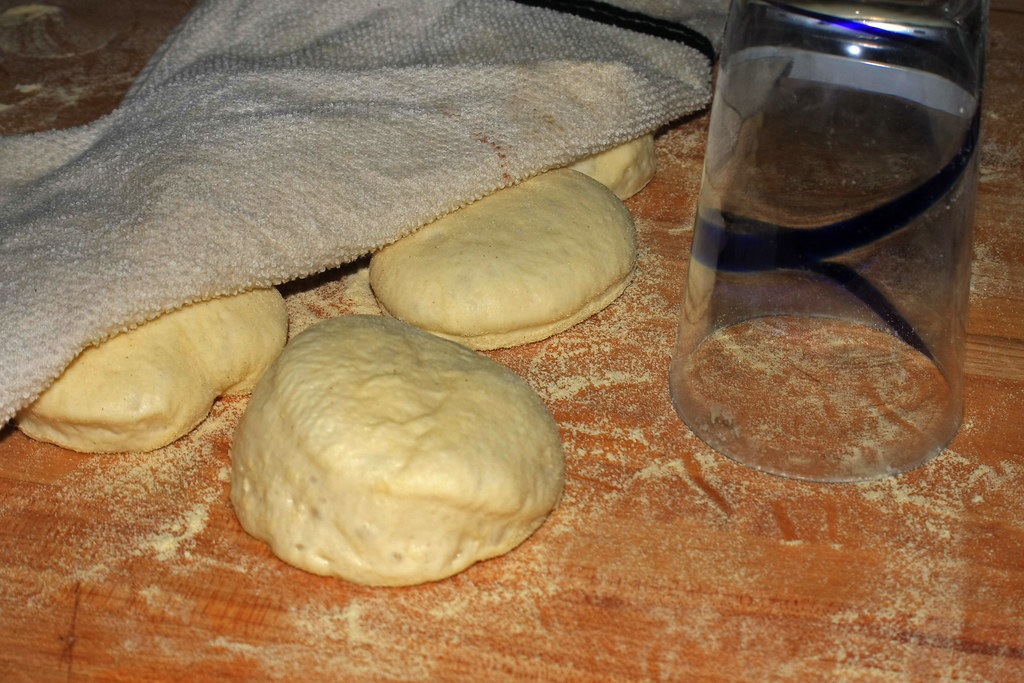


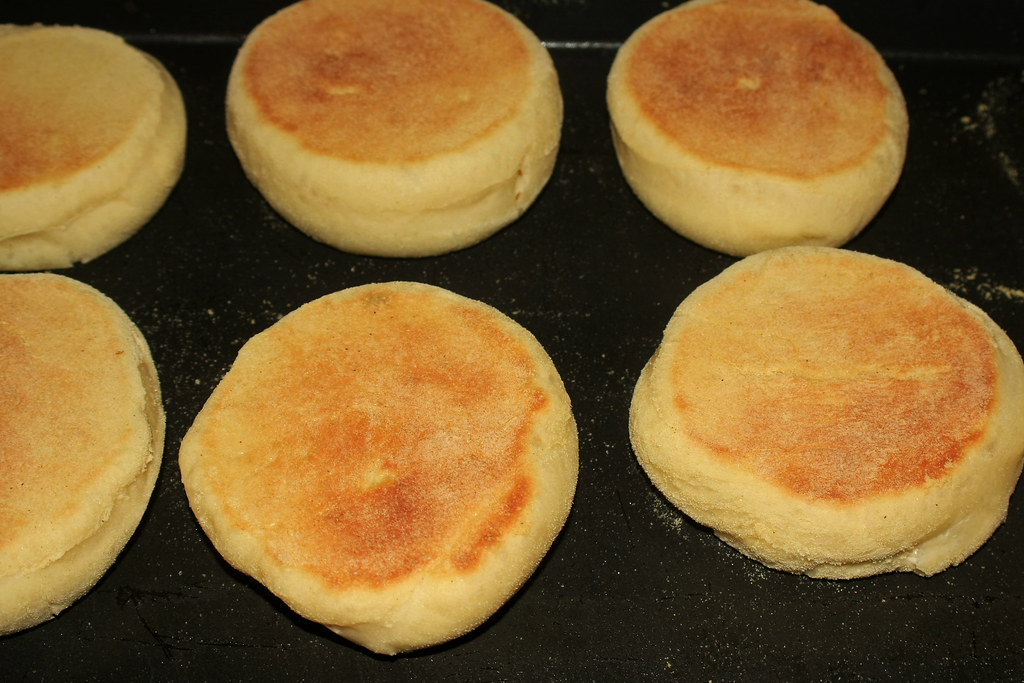
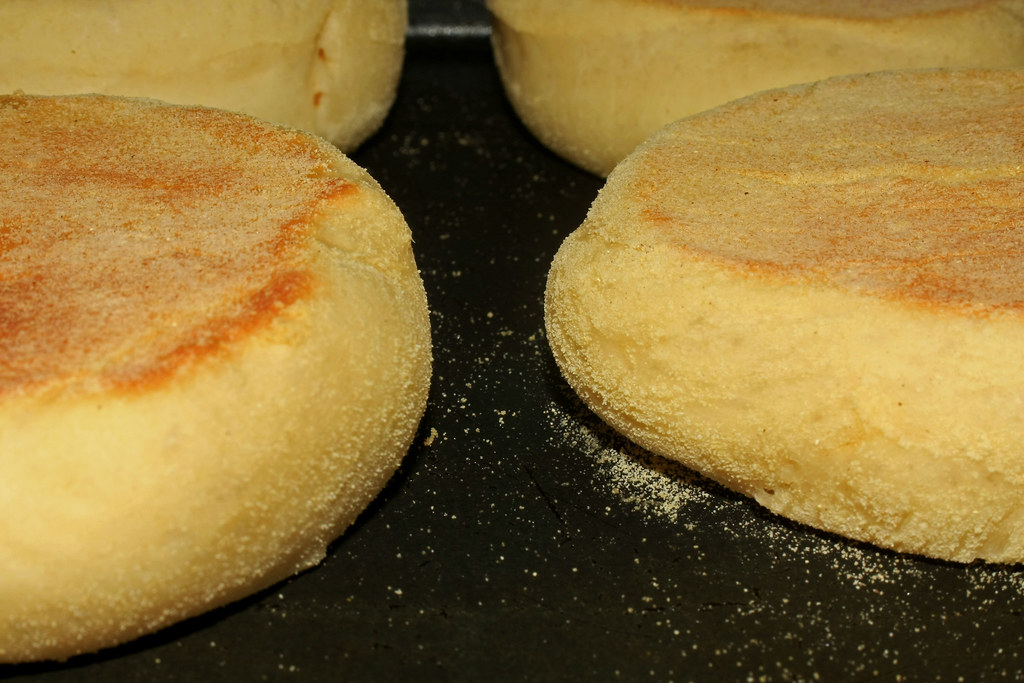


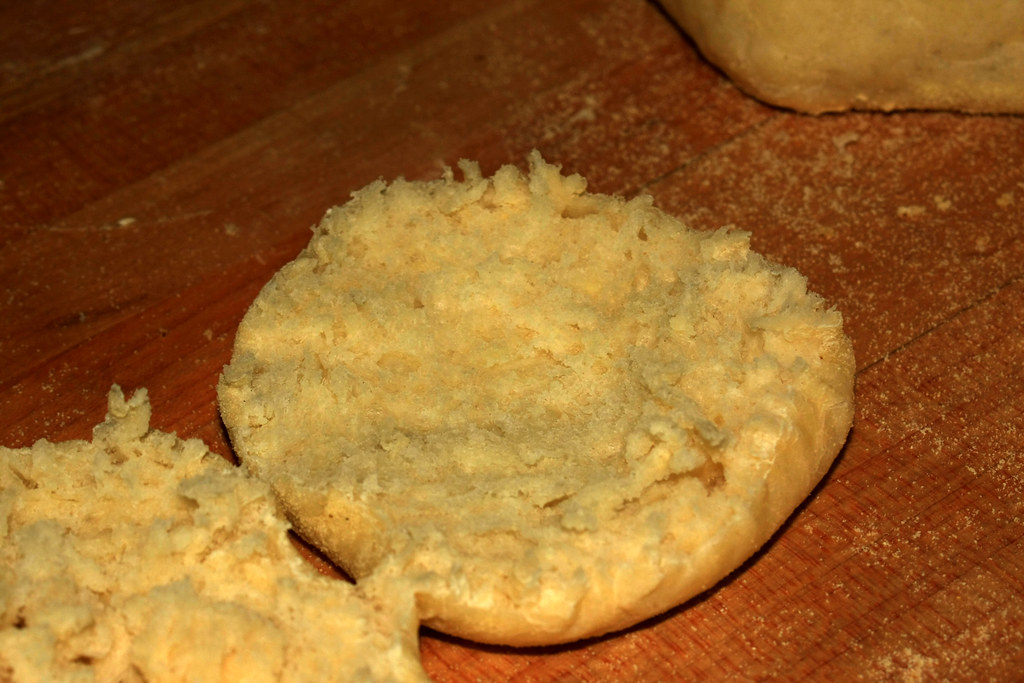
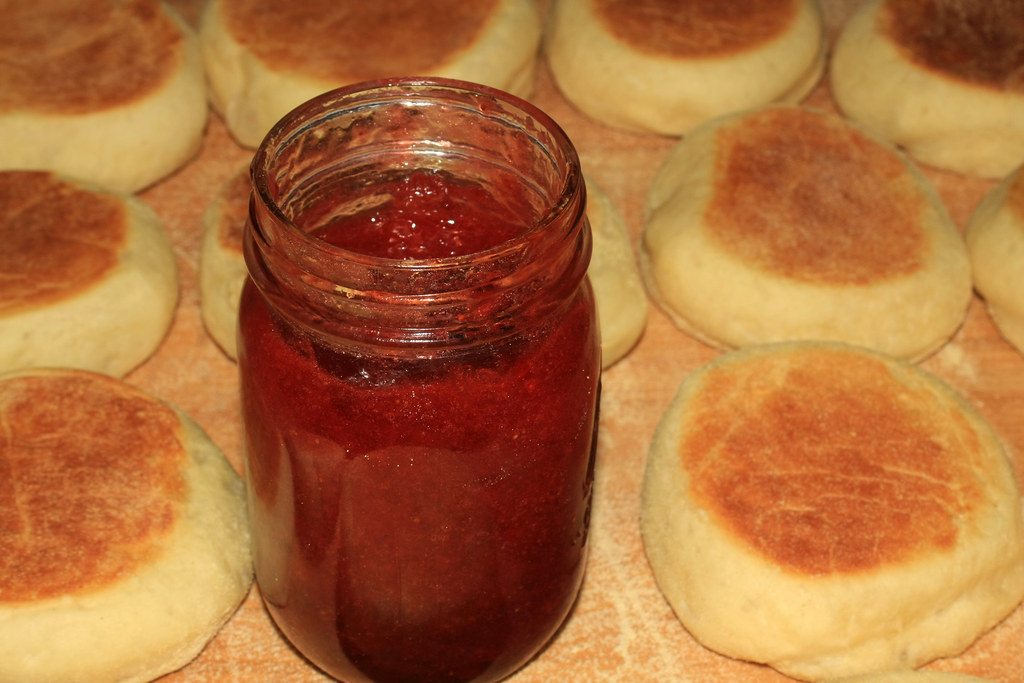 Let's get a closer look. Mmmmm......


